
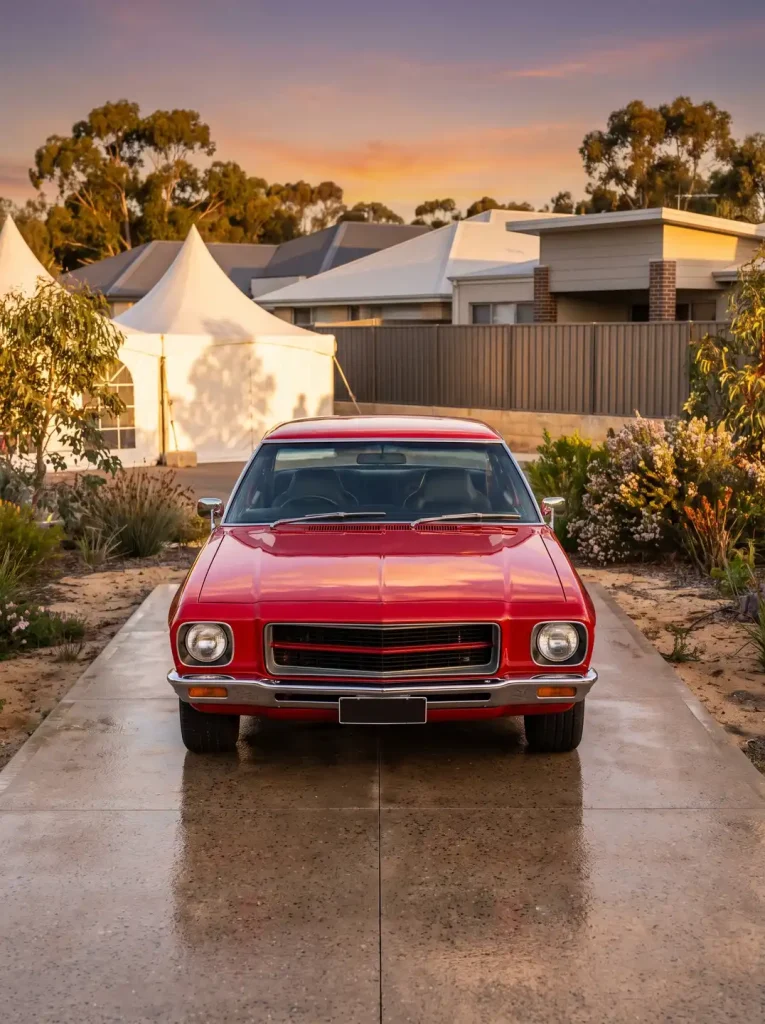
You have probably scrolled past a car listing and thought the photo looked off, even if you couldn’t put your finger on why. That instinct is real. A ruined car photo rarely fails for one dramatic reason – it fails through a handful of small, avoidable errors stacking on top of each other. Avoiding those errors is what professional car photography is for, whether you are a private seller in Fremantle or a dealership managing a full yard of stock.
This post inverts the usual approach. Instead of describing what makes a photo work, it catalogues what goes wrong – and shows how professionals sidestep each problem through consistent process rather than luck.
Prefer to watch or listen?
Listen onApple Podcasts
Reflections and Glare
Car paint and glass are mirrors. Every window, panel and windscreen reflects whatever surrounds it – the photographer, a fence, a power line, a bright patch of sky. Uncontrolled reflections are one of the fastest ways to make a clean vehicle look chaotic.
Professionals manage this by controlling three things: their shooting angle, the time of day, and the environment around the car. They watch how light wraps across a panel and reposition until harsh hotspots soften into smooth gradients. In Perth’s strong sun, that often means moving the car into open shade or shooting when the light is diffused rather than direct. The goal is even, controlled light on the paint – not a windscreen full of clutter and a photographer’s silhouette staring back.
Cluttered and Distracting Backgrounds
A great car in a bad setting still reads as a bad photo. Wheelie bins, other vehicles, road signs, tangled fences and busy suburban streets all pull the eye away from the subject. The car should dominate the frame; the background should support it quietly.
The fix is almost always location choice, made before the shutter ever fires. Professionals scout clean, uncluttered spaces – a plain wall, an open industrial lot, a quiet stretch away from traffic – where nothing competes with the vehicle. A considered background does more than tidy the image; it signals care, and buyers read that care as a reflection of the car itself.
Wrong Angles and Lens Distortion
Angle is where amateur car photos most often collapse. Shooting from standing height looking down makes a car look small and toy-like. Shooting square-on from too close flattens its proportions. And getting too near with a wide phone lens stretches the nearest corner while shrinking the far end, giving the car an awkward, bulging shape it does not have in real life.
Professionals work at a lower, more deliberate height and step back to use a focal length that respects the car’s true proportions. The classic three-quarter angle – showing the front and one side together – gives a vehicle presence and depth. Getting the angle right in-camera means the shape you photograph is the shape the buyer will actually see in the driveway.
Poor Lighting and Time-of-Day Errors
Midday sun feels like ideal shooting weather, but it is often the worst light for cars. Overhead sun creates hard shadows under the mirrors and bumpers, blows out highlights on the bonnet, and drains colour depth from the paint. The result looks harsh and cheap regardless of how good the car is.
The light professionals actually chase is softer and lower – the hours after sunrise and before sunset, or overcast conditions that spread light evenly across every panel. In Perth, that usually means planning a shoot around the early morning or late afternoon rather than the middle of a bright day. Good light does the heavy lifting; bad light undoes everything else you get right.
Preparation Failures
The camera is honest. It records the fingerprints, the dusty dashboard, the water spots and the swirl marks that the eye politely ignores in person. A dirty vehicle photographs as a neglected one, and no editing rescues a car that wasn’t prepared.
Before any professional shoot, the car is properly cleaned, dried and detailed. Common preparation steps include:
- Washing and drying the exterior to remove dust and water marks
- Cleaning the glass inside and out to kill glare and smears
- Dressing the tyres and cleaning the wheels
- Clearing the interior of personal clutter, rubbish and loose items
- Removing floor mats debris and wiping down the dashboard
These steps take time before the shutter fires, and they are the reason professional images look effortless. The work happens off-camera so the photo can look clean on-camera.
Inconsistency Across a Set
A single strong photo is not enough. When a listing mixes tight and wide shots, bright and dark exposures, and different angles for each frame, the whole set feels disjointed and unreliable. Buyers notice the inconsistency even if they can’t name it.
Professionals shoot to a repeatable framework – the same angles, the same distances, and matched exposure and colour across every image. Each photo feels like part of one coherent story about the vehicle. This is closely tied to how buyers process what they see, a subject explored in how buyers read a vehicle image. Consistency builds trust; disorder erodes it.
Bringing It Together
Most ruined car photos come down to avoidable errors – uncontrolled reflections, cluttered settings, distorting angles, harsh light, skipped preparation and inconsistent framing. None of these are difficult to understand, but each one quietly undermines how a car is represented.
Recognising these mistakes is the first step toward images that show a vehicle honestly and attractively. Professionals don’t succeed through luck or expensive gear alone. They succeed through consistent discipline around light, angle, setting and preparation, applied the same way every time. For a Perth seller, that discipline is the difference between a car that looks neglected online and one that looks exactly as good as it deserves to.